
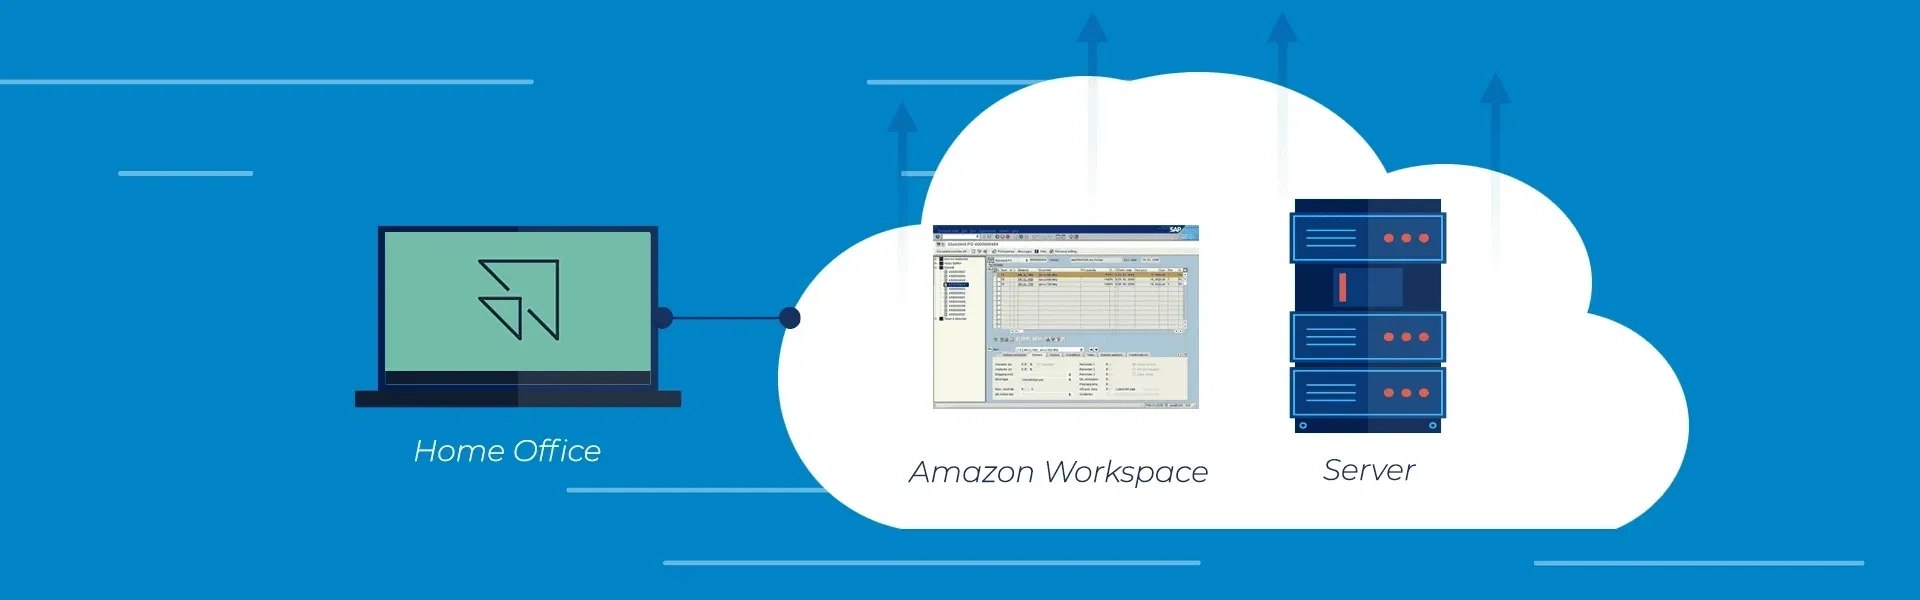
What are Amazon Workspaces Images and Bundles?
An Amazon Workspace Image is an image generated from a machine previously configured with the applications and system settings that we want to be replicated to the other machines we will create. An Amazon Workspace Bundle is the set consisting of a software Image with a hardware version (Value, Standard, Performance, and Graphics). It is possible to create an environment with up to 20 Images.
##Required knowledge It is necessary to know how to create a Workspace;
##Prerequisites To create a Workspace image and a Bundle, you need to have the necessary permissions to make the configurations in the console. Check here; All installed applications must be compatible with Microsoft Sysprep; All applications need to be installed on Disk C; There must be a user located at D:\Users\User and it can contain up to 10GB of files; Disk C must have at least 12 GB available; The applications must be run by the local user and not with the Domain user’s credentials; The Workspace Disks cannot be encrypted.
Step 1: Creating an Image
In the Workspaces tab of the AWS management console, select the Workspace from which you want to create an image and select “Actions” and then “Create Image”.
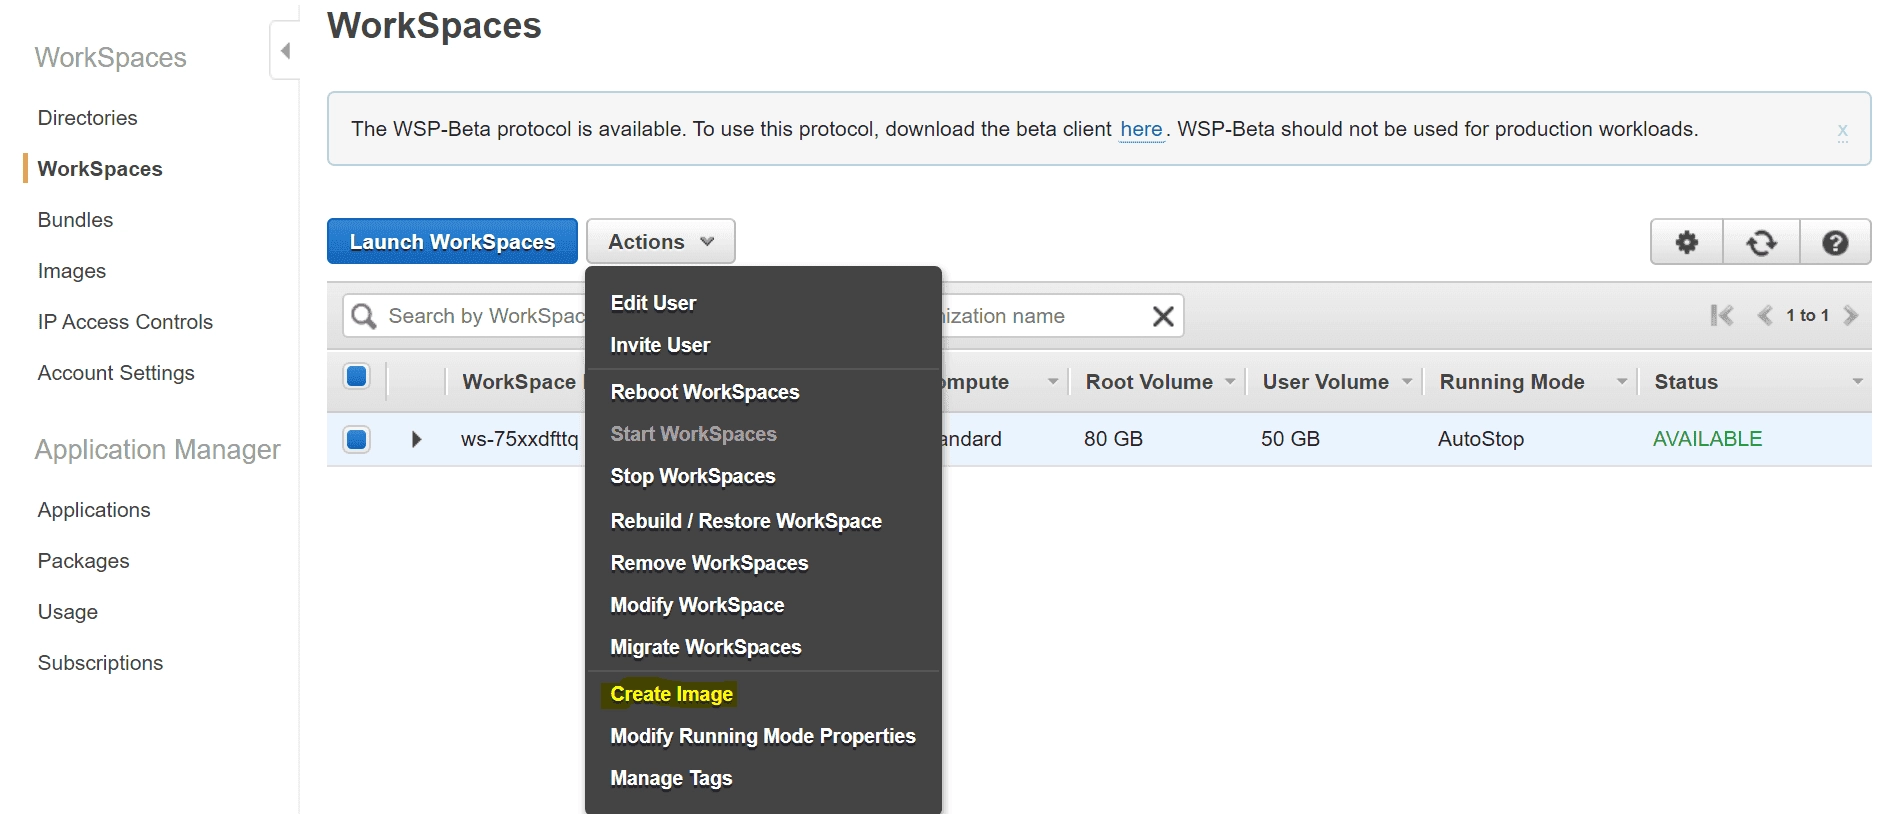
NOTE: To create an image, the Workspace we are going to use needs to be available.
A confirmation screen will be shown; on this screen we can see the path of the image validation tool, which it is important to run before proceeding with the creation: “C:\Program Files\Amazon\ImageChecker.exe” to validate our Workspace. At the end of the check, it will show whether any problem was found and how we can solve it. Once it is validated, we can proceed in the console.
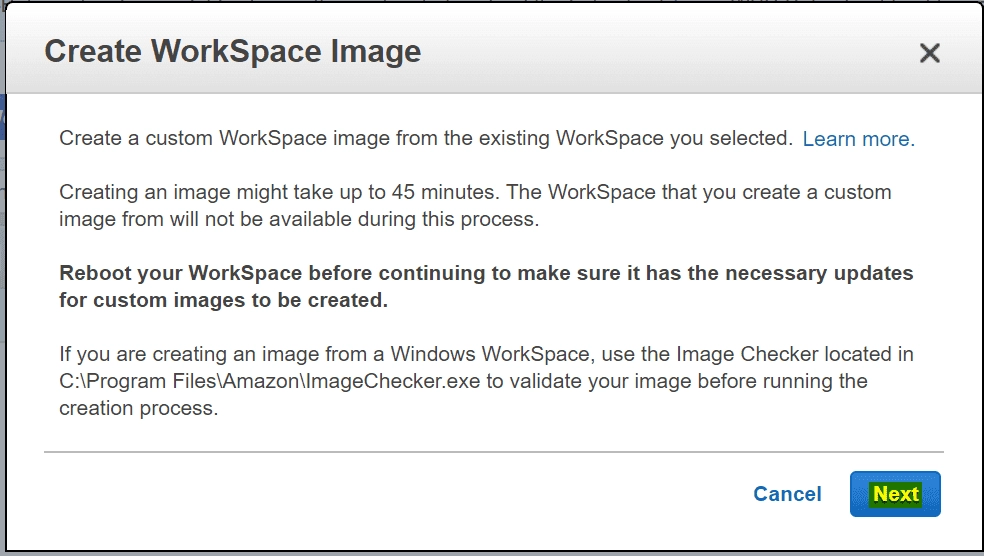
You will be asked to enter a Name and Description to identify the image.
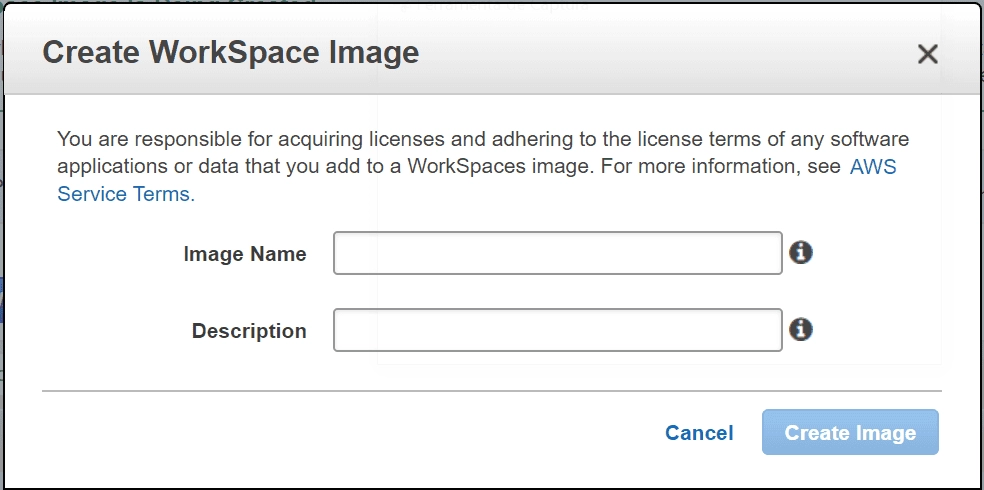
Once the information is filled in, you will need to wait about 45 minutes for the image validation.
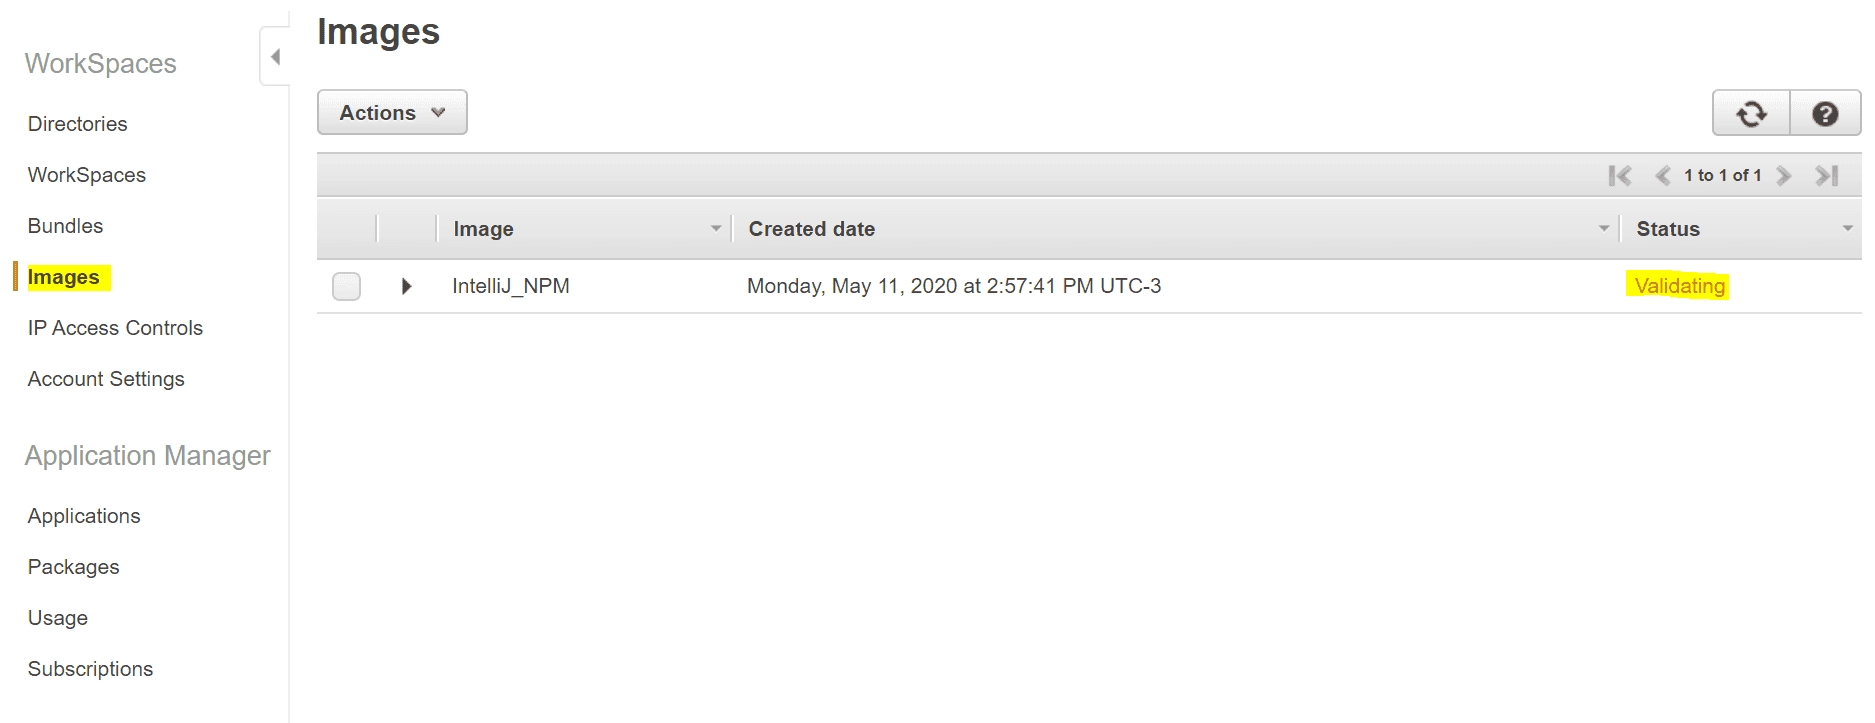
Step 2: Creating a Bundle
Once the Image is available, select it and then “Actions” and “Create Bundle”.
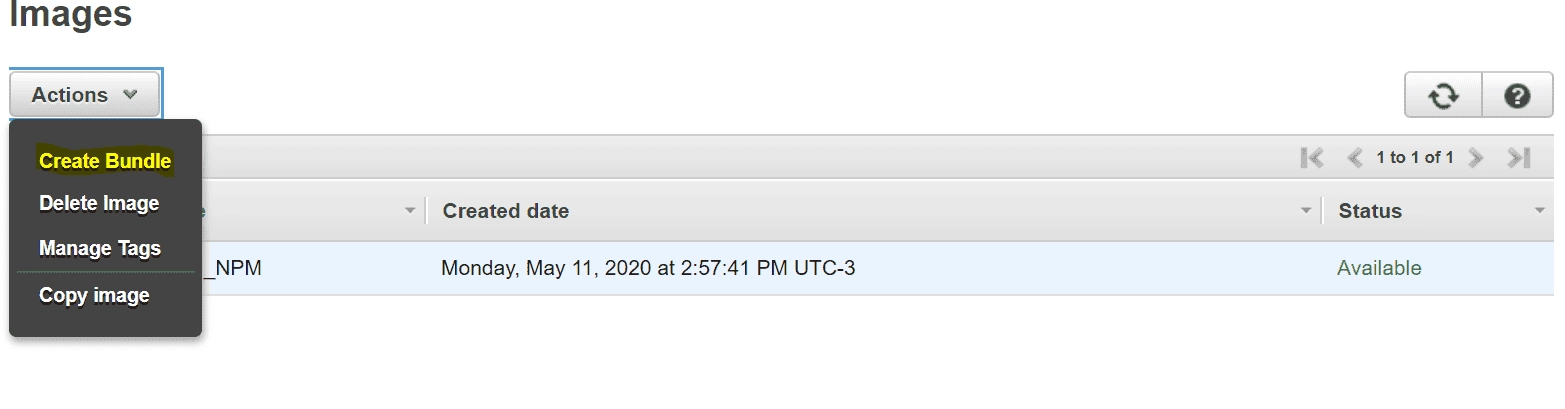
Fill in the information to build the Bundle.
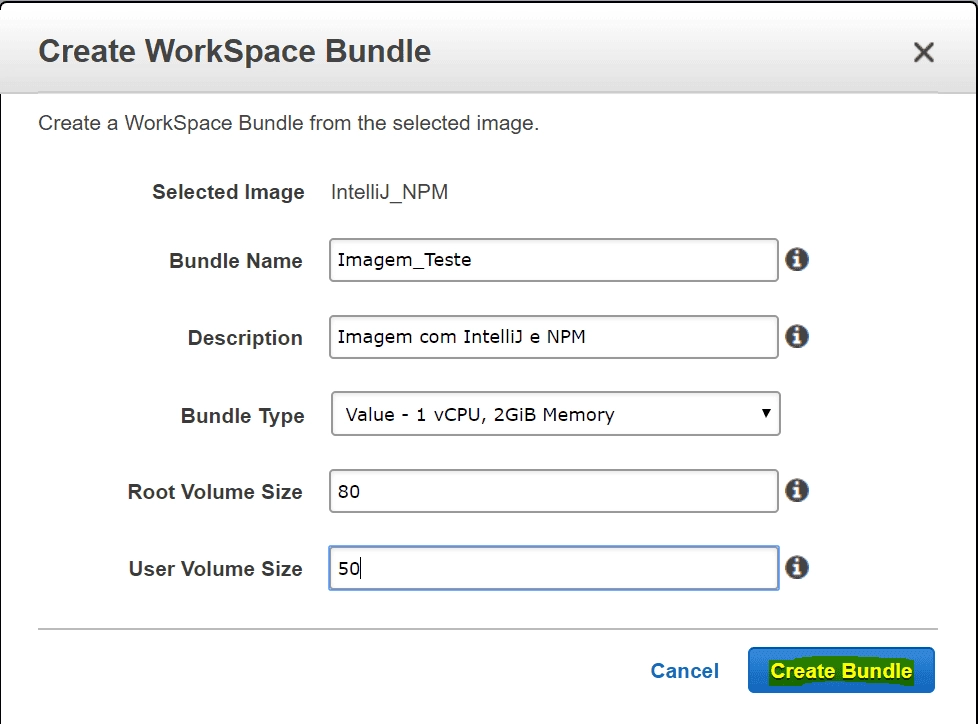
Step 3: Creating a Workspace based on a Bundle
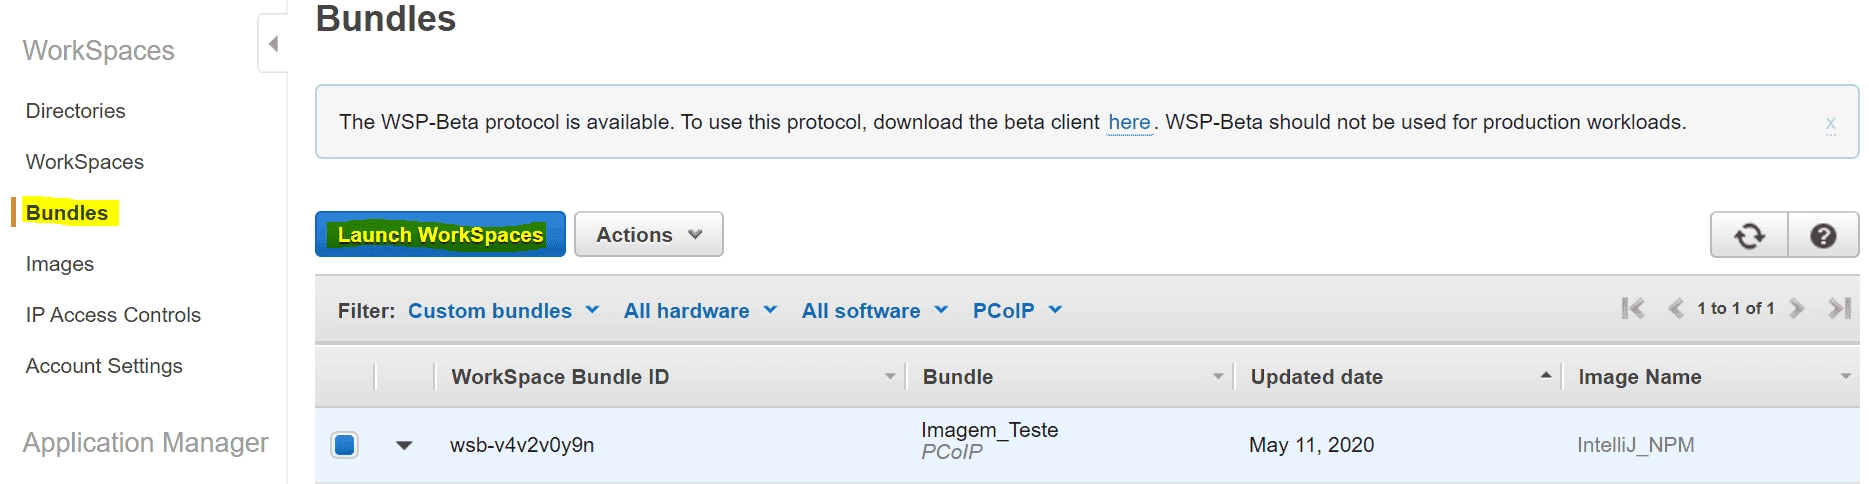
To create a Workspace with our Bundle, we select it and click “Launch Workspaces”. And we proceed with the Workspace creation process.
Summary
In this article we saw how to provision an Amazon Workspaces Image for our environment and, from it, generate others. This type of solution not only makes it easier to deliver machines but also allows us to standardize them. We can create several images and segregate them according to our needs (by area, by project, or even by applications).
